

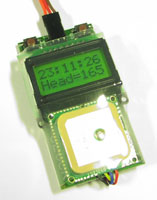
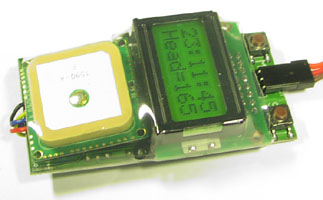
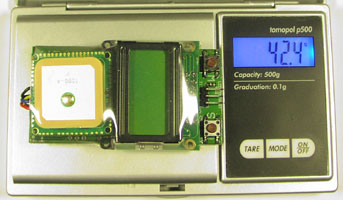
The GPS RC LCD Meter is a nice little unit, just add power and fly, works also at night, display is lit
German version here: www.clausurbach.de/rc/gps-rc-meter.htm
Put this little gadget on your RC plane, RC CAR, RC boat, RC helicopter, Bicycle, Skateboard, or whatever you can imagine ?!?!
then you will always be able to tell your friends: HOW FAST, HOW HIGHT can you go, and much more read futher..
This page explain how the latest 1.02b Firmware works, 1.01 is here


The GPS RC LCD Meter is a nice little unit, just add power and fly, works also at night, display is lit

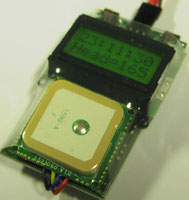
side view

bottom view, see the optional locations for 4 connectors, temperatures, volt, current.


1: clock and heading 0-360

2: Actual speed and height (in the selected scale)
4 numbers allocated for speed and 5 for height.
Hold select to see height over sea level and zero your height to actual sea level value.
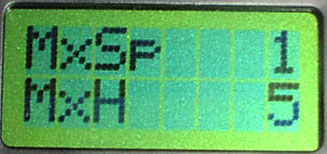
3: MAX speed and MAX height (click select to reset)

4: Actual position in WGS84 format, hi digits

5: Actual position in WGS84 format, low digits

6: Temperature 1, actual, min, max, click select to reset peaks, optional sensor needed (C/F scale possible)
the txt T1= can be user configured to say MOT og BAT og AIR or what ever you like

7: Temperature 2, actual, min, max, click select to reset peaks, optional sensor needed (C/F scale possible)
if no temperature sensor is connected it will read -73C

8: Trip distance in the selected scale (click select to reset)
the max value can be 65535, leading zeroes removed
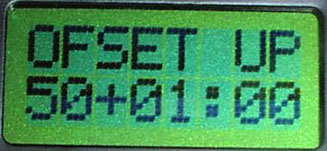
9: clock offset up (click select to + value)
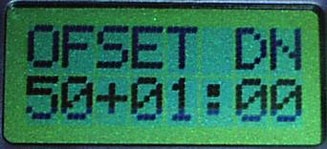
10: clock offset down (click select to - value)

11: Volt, actual, min, max (click select to reset peaks)
Volt meter can display 0.0 to 52.0V in 100mV resolution

12: Ampere Low Range, Actual, Min, Max (click select to reset peaks)
Ampere meter Low range can display from 0.0 to 65.0A in 100mA resolution
using the default current sensor with a 10k resistor, cal values: Gain=82, Zero=186
Enable this screen if normal current sensor is used, value will wrap at 99.9A

13: Ampere Hight range, Actual, Min, Max (click select to reset peaks)
Ampere meter in Hi range can display from 0 to 146A screen resolution 1A
internal calculation resolution 200mA (sensor is modified with 39k resistor)
cal values: Gain=159, Zero=97
Enable this screen if optional modified current sensor is used, (it is possible to make a 500A sensor if needed, on special request)

14: Watt, actual, min, max (click select to reset peaks)
each 3 watt indicators use 4 numbers = 0000 to 9999 Watt, leading zeroes removed.

15: mAh, capacity used (click select to reset)
the mAh counter is limited to 65Ah same as 65000mAh with 1mAh resolution
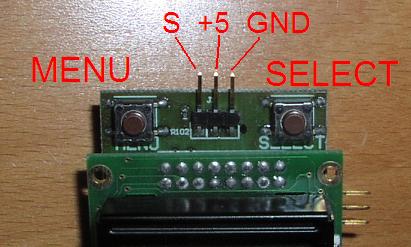
The two buttons explained and how to power it. use a 1:1 female female servo cable and simply plug it into your receiver
remember to check your BEC system supply 5.0V and can handle 80-100mA extra without over heating and shut down !!!
well I think 80mA will be no problem for any BEC system, just wanted to say it.
If you have 6V or anything over 5V available only in your plane, you need a regulator called LDO
Low Drop Out, I can supply such a unit at extra cost:

it can supply your GPS RC Meter from 5V to 25V of input voltage, and even protect it from spikes and reverse voltages,
ok the LDO will blow a capacitor if reversed, but the expensive GPS RC Meter will continue to live :-)
Voltage and Current measurements is possible using optional sensors (not supplied as default)
the pin connectors on the side for Voltage, Current, Temperature 1 and 2,
are also not soldered to the board as default, the users must do this when/if they upgrade with sensors
then this meter can read out Peak current, max and min voltage, Watt and peak Watt, and mAh usage
The two temperature readouts handle from -50 to +150C in 1C resolution (not supplied as default)
This unit have a BOOTLOADER so they can upgraded later when new features are invented


The PC sw also have a layout editor so txt in all menus can be changed if needed.
you can even add your own name to it.

TEMPERATURE

The temperature sensors exist in two versions, small=5x8mm 0.1gr, big=10x17mm 0.42gr
with connector and 10cm cable the weight is about 2gr for the tiny sensor.
Both have same range -50 to +150C and accuracy 1C, uses servo style cable, connect to J5 and J6 marked TMP1 and TMP2

Here is how to solder the leads onto the two temperature sensors, I prefer the thinn wires for the tiny sensor, but it is possible to use the normal leads if good solderings skills

The temperature sensor is LM60BIM3
G-Force
The TMP1 and TMP2 inputs can also be scaled to readout any analog value from any device you can imagine,
Adding a G force sensor to measure acceleration and G stress in your plane, all readouts have min and max peaks.
see on this page how to add a G force sensor and how to calibrate it



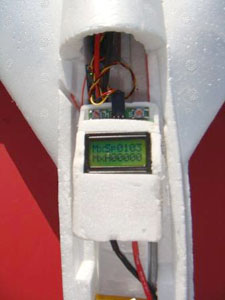
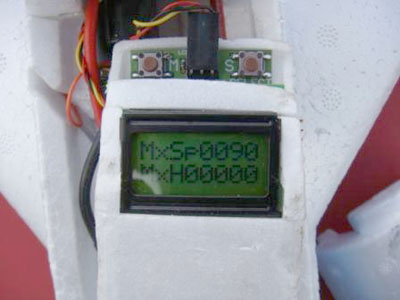
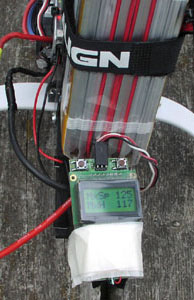
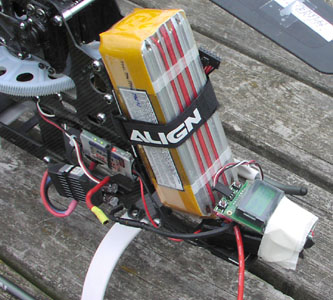

RC Helicopter, Trex 600, performing 125km/h and 135 the next flight, trip distance 4382 meters


another Trex 600, performing 153km/h, trip distance 3500meters


RC car, Traxxas Bandit 9 x 4500mAh and BL motor performing 88kmh, trip distance 6km, GPS-RC-Meter driven by 4 x AAA nimh.

RC plane F20 FAN electric, performing 225km/hr


A Jet plane performing 309 km/hr


Easystar flying almost 11km in total, and 584 meters up
Jan 7. 2013, OZ2CPU